

To remove the seed coat or not?
What should you do if your cannabis plants start to grow but the seed coat is still stuck on the top? To remove the seed coat or not? It is one of the most frequently asked questions at our helpdesk. To find the right answer, you need to know a number of things: what is its purpose and how does it work in the wild?
The hard seed coat of a cannabis seed has two functions. It protects the core of the seed and preserves crucial proteins and other micronutrients that the newly born plant needs until photosynthesis begins. The seed coat is therefore much more important than most growers think and should not be removed! The second answer is simple: in nature (contrary to what some people think) there are no little gnomes to do this kind of work. The seed hulls and membranes simply remain in place until Mother Nature deems the time is right for them to shed this protection.

Contrary to what many other websites claim, it is therefore wise to leave the seed casings and membranes in place so that the plant can grow better and easily shed the casing and membrane itself when it has done its job.
Because if you do it yourself, you run the risk of irreparably damaging the plant and leaving it with just a stem, which will die. This is a completely unnecessary risk that you can avoid, especially in that first vulnerable phase. Read how to do it properly and how you can help the plant get off to a good start in this blog.
-
Chapter 1: Germinating Cannabis seeds
-
Chapter 2: Why Not Remove It Right Away?
-
Chapter 3: What If the Seed Casing Gets Stuck?

Chapter 1: To remove the seed coat or not? – Germinating Cannabis seeds
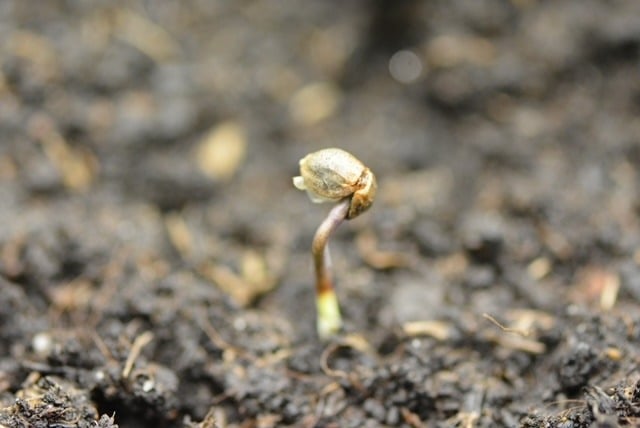
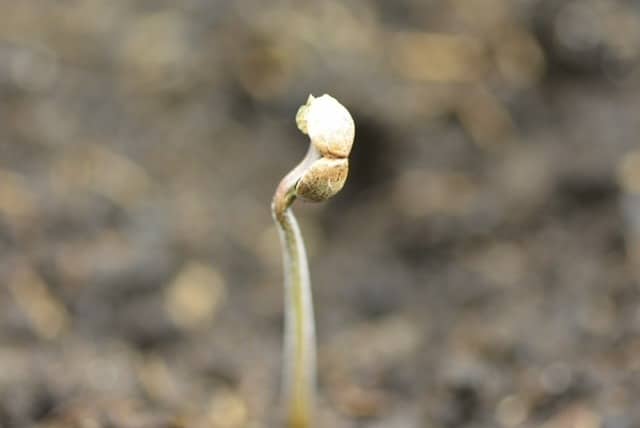
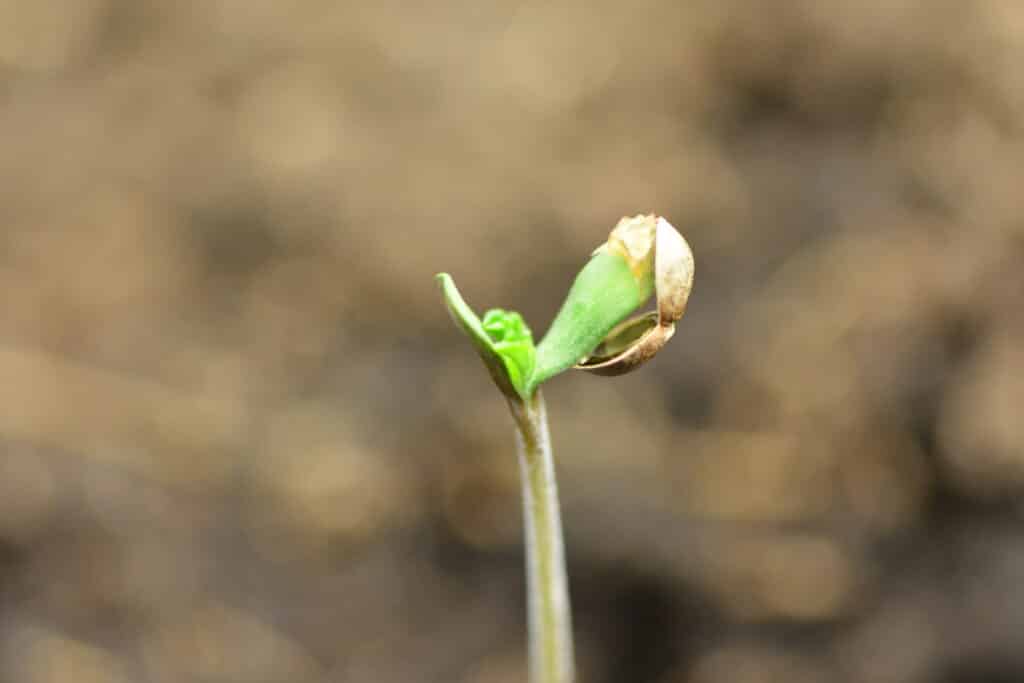
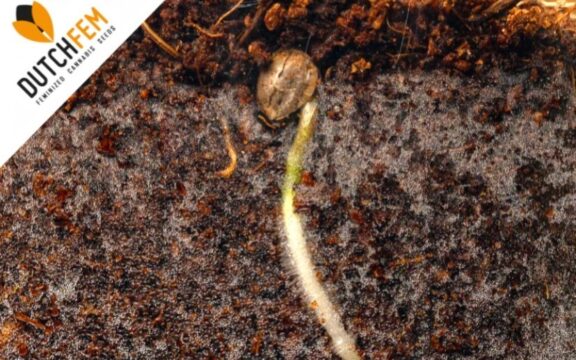
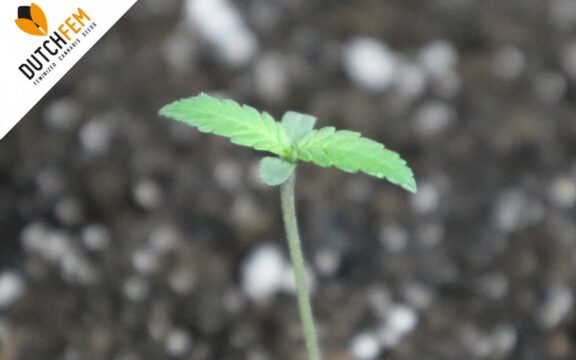
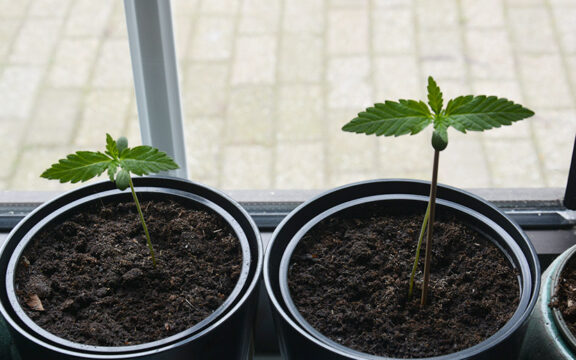
When a cannabis seed germinates, a small root emerges, followed by the first leaves, also known as the cotyledons. Often the seed coat (the hard shell of the seed) or the thin membrane (the protective layer on the inside) remains attached to the cotyledons for a while. Although some growers tend to remove it immediately, it is actually better to leave it in place. Why? Because this seed coat and membrane contain valuable nutrients that support the young plant until photosynthesis begins.
The Hidden Power of the Cannabis Seed Coat and Membrane
When you think about a cannabis seed, you probably focus on what it will become—a thriving plant with lush green leaves and potent buds. But before any of that can happen, the seed itself plays a crucial role in the plant’s early development. Specifically, the seed coat and membrane, often overlooked as mere protective layers, are packed with nutrients and proteins that give the young plant a strong start in life.
To remove the seed coat or not? More Than Just a Shell
At first glance, the seed coat (also known as the testa) and the membrane (the pellicle) might seem like simple barriers designed to protect the embryo inside. While protection is certainly one of their jobs, these outer layers do much more. They contain essential micro-nutrients, enzymes, and proteins that the plant depends on before it can generate its own food through photosynthesis.
A newly germinated cannabis seed has no roots to absorb nutrients from the soil and no leaves to capture sunlight for energy production. Instead, it relies entirely on the stored nutrients within the seed itself. The cotyledons—the small, initial leaves—serve as the main food source during these early days. However, the seed coat and membrane also contribute significantly to the plant’s initial growth by providing key substances.

The Nutrient-Rich Package
The cannabis seed coat and membrane contain several important compounds that support early development:
- Amino Acids and Proteins: These are essential for cell growth and division. Proteins serve as building blocks for new tissues, while amino acids help form enzymes and other crucial molecules that drive metabolic processes.
- Enzymes: The seed coat and membrane house enzymes that assist in breaking down stored nutrients, making them easier for the young plant to absorb and utilize.
- Trace Elements: Magnesium, iron, and other micro-nutrients are present in small but significant amounts. These elements play a key role in processes like chlorophyll production and cell division, ensuring that the plant can transition smoothly to producing its own energy.
How Germination Activates These Nutrients
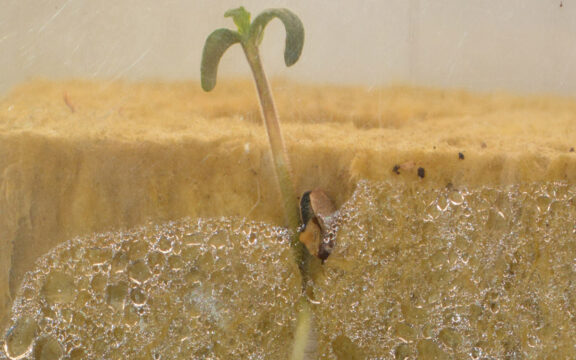
As soon as a cannabis seed is exposed to moisture and warmth, the germination process begins. The seed absorbs water, which softens the seed coat and allows the embryo inside to swell and push outward. This is the moment when the hidden resources of the seed coat and membrane become available to the growing plant.
The enzymes stored within these outer layers become active and start breaking down complex molecules into simpler forms that the young plant can absorb. Proteins are broken into amino acids, starches turn into sugars, and stored fats become accessible energy sources. All of this helps fuel the rapid cell division and growth that occurs in the first few days of a seedling’s life.
The Transition to Photosynthesis
Before the first true leaves emerge, the cannabis plant is entirely dependent on the nutrients from its seed. The cotyledons (the first leaves that appear) act as temporary food sources, supplying stored energy to keep the plant alive and growing. However, the seed coat and membrane continue to play a role in this early stage, delivering the final nutrients before they are shed.
Once the first true leaves unfold, the plant undergoes a major shift. It begins to produce its own chlorophyll and, with the help of sunlight, starts the process of photosynthesis. At this point, the seed’s job is complete, and the young plant is ready to sustain itself.

The Importance of a Healthy Seed
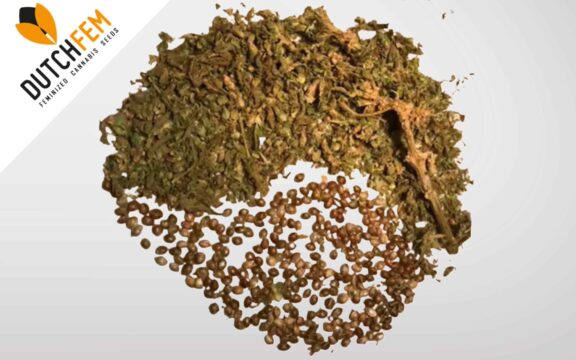
Since the seed coat and membrane contain such crucial nutrients, the quality of the seed itself directly impacts the strength of the seedling. A well-developed cannabis seed will have a strong, intact coat that protects and delivers nutrients effectively. Poor-quality or damaged seeds may lack essential nutrients, leading to weak or stunted seedlings.
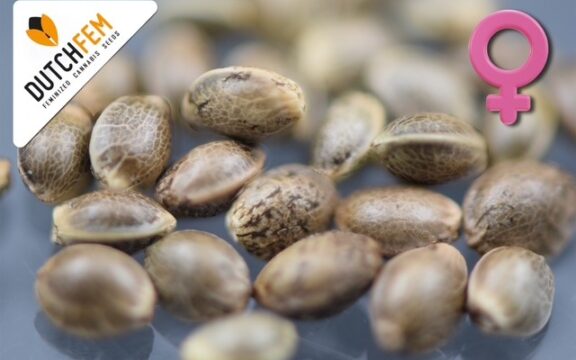
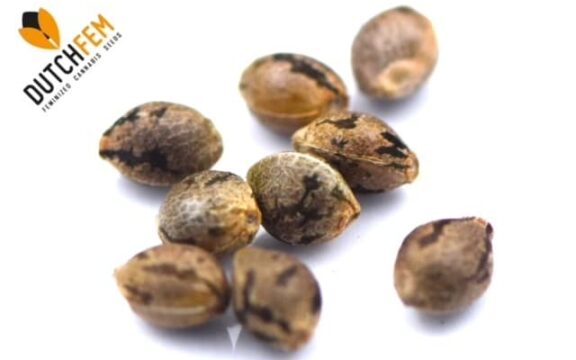
For growers, this means selecting high-quality seeds is essential for a successful harvest. A seed’s appearance can often give clues about its viability—healthy seeds tend to be firm, dark-colored, and free from cracks or damage. Proper storage is also key, as prolonged exposure to moisture or heat can degrade the vital nutrients inside.
The cannabis seed coat and membrane may seem like simple outer layers, but they are actually nutrient-packed powerhouses that play a vital role in early plant development. They provide amino acids, enzymes, and trace elements that help the young plant establish itself before it can sustain itself through photosynthesis.
Understanding the role of these structures not only deepens our appreciation for the natural efficiency of cannabis growth but also highlights the importance of starting with healthy, high-quality seeds. So next time you germinate a cannabis seed, take a moment to appreciate the incredible work that its outer layers are doing to ensure a strong and successful plant.

Chapter 2: To remove the seed coat or not? Why Not Remove It Right Away?
Sometimes, you may notice that the seed casing or membrane stays attached to the seedling longer than expected. This can happen for various reasons, such as low humidity levels or a particularly thick seed coat. When this occurs, it might be tempting to intervene and manually remove the seed casing. However, doing so can pose serious risks to the delicate young plant.
The Dangers of Premature Removal
Removing the seed membrane too early or too forcefully can cause harm in several ways:
- Damage to the Cotyledons: The cotyledons are extremely fragile. If you pull too hard, you risk tearing or injuring these first leaves. This damage can slow the plant’s growth or, in extreme cases, lead to the seedling’s death.
- Stress for the Plant: Young cannabis plants are highly sensitive to stress. Forcing the membrane off before it naturally detaches can disrupt their development, making them weaker and more susceptible to problems later on.
- Risk of Infection: Handling a fragile seedling increases the chance of creating small wounds on the plant’s surface. These tiny injuries can become entry points for bacteria, fungi, or other pathogens, raising the likelihood of infection.
While it might seem helpful to remove a lingering seed coat manually, doing so can be risky for the young plant. By allowing the seedling to shed its membrane naturally and only intervening when absolutely necessary, you can ensure a healthier start and stronger growth. Understanding this process can help growers cultivate resilient cannabis plants with the best possible chance of thriving.

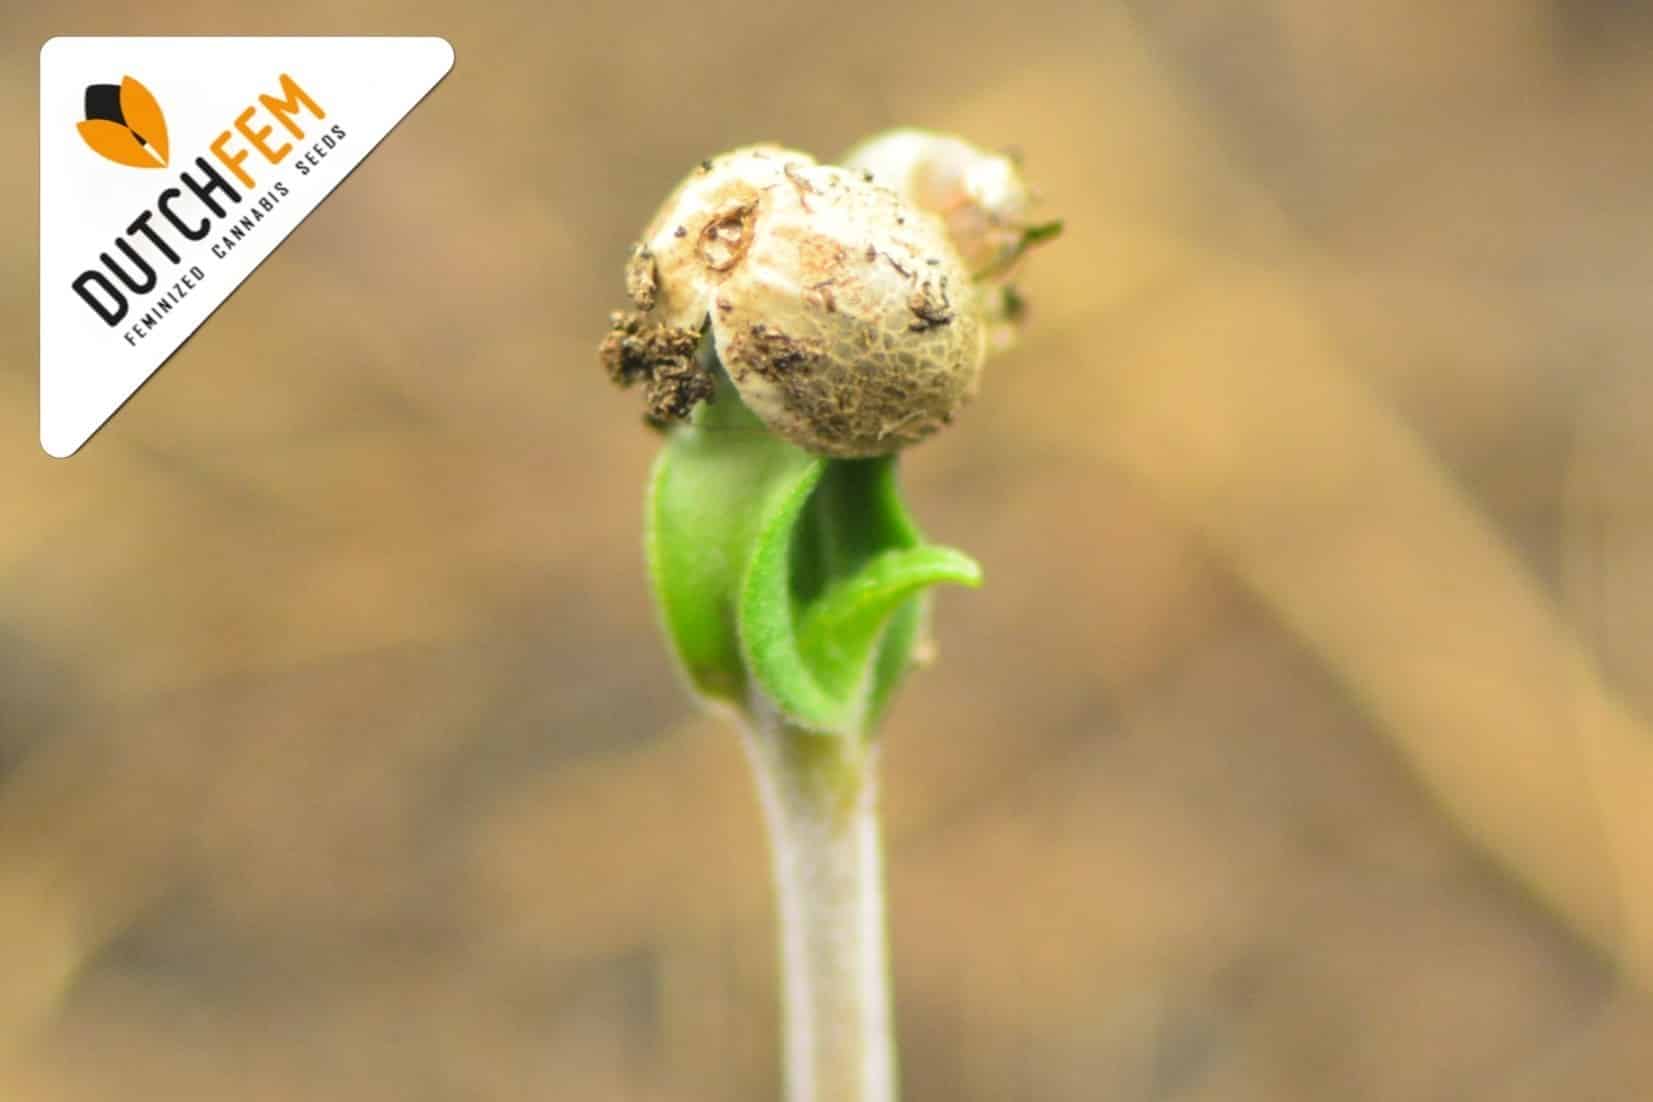
Chapter 3: To remove the seed coat or not? – What If the Seed Casing Gets Stuck?
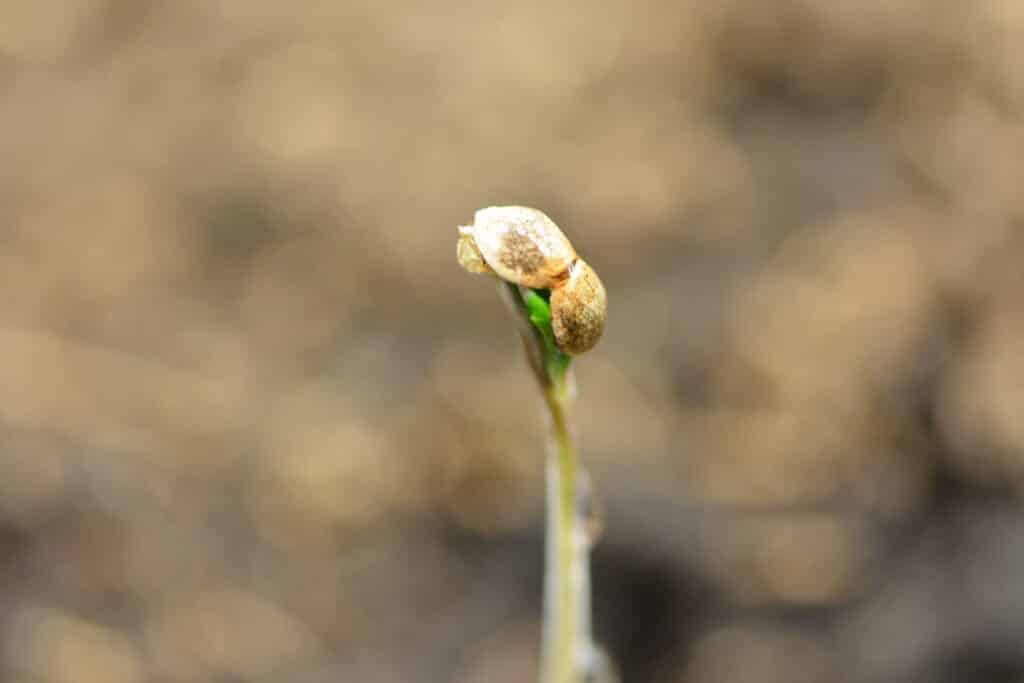
When a seed begins to sprout, it sends out its first little leaves, called cotyledons. These leaves help the young plant gather energy from the sun so it can grow strong. Normally, as the seedling emerges from the soil, the seed casing (also called the seed coat or shell) naturally falls away. However, sometimes this outer casing stays stuck on the sprout for too long. When this happens, it can prevent the cotyledons from opening properly, slowing down the seedling’s growth and possibly even harming it.
If you notice that a seedling is struggling to shed its casing, don’t worry! There are a few simple things you can do to help. The key is to be patient and gentle to avoid damaging the delicate plant.
Increase the Humidity
One of the best ways to help a stuck seed casing loosen naturally is to increase the humidity around the seedling. The seed coat may be stuck because it has dried out and hardened. By adding moisture, you can soften the shell, making it easier for the plant to break free. Here’s how you can do it:
- Mist the seedling with water: Use a spray bottle to gently mist the seedling. Be careful not to drench the soil, as too much water can lead to mold or rot. A fine mist over the plant is enough to help soften the casing.
- Use a humidity dome: If you have a clear plastic cover or even a plastic bag, you can place it over the seedling to create a mini greenhouse. This will trap moisture in the air, surrounding the plant with gentle humidity. Be sure to remove the cover every few hours to allow fresh air to circulate, preventing excess moisture buildup.
Often, a little added humidity is all that’s needed for the casing to fall away on its own. Check back after a few hours or the next day, and you may find that the problem has solved itself.
To remove the seed coat or not? – Let Nature Take Its Course
Plants are remarkably resilient. In many cases, even if the seed casing stays on a little longer than usual, the seedling will eventually push it off on its own. It’s important not to intervene too quickly. If the cotyledons still look green and healthy underneath the shell, there’s a good chance the plant is handling the situation by itself.
If the casing remains but the plant continues growing, give it a bit more time. However, if you notice that the leaves look trapped or are starting to curl unnaturally, it may be time to lend a helping hand.
Removing the Seed Casing Manually
If the seed coat refuses to come off even after increasing humidity and waiting, you can try removing it manually. However, this must be done with great care to avoid injuring the seedling. Follow these steps to safely free your plant:
- Sterilize Your Tools – Use clean, sterile tweezers to handle the seed casing. You can wipe them with rubbing alcohol or wash them with hot, soapy water to ensure they’re free from bacteria.
- Moisten the Casing – Before attempting removal, mist the casing with water again. This will soften it further, making it easier to work with.
- Gently Pinch and Pull – Using the tweezers, gently grasp the seed casing. Instead of pulling it off all at once, try to open it little by little, like peeling an eggshell. Be sure not to squeeze the cotyledons themselves, as they are fragile and can easily be damaged.
- Stop if There’s Resistance – If the casing does not come off easily, do not force it. Forcing removal can tear the cotyledons or damage the stem, which can harm or even kill the seedling. Instead, try misting it again and waiting a little longer before making another attempt.
Sometimes, if the casing is very stubborn, a tiny drop of warm water applied directly to it can help soften it further. Repeat the process after letting the water sit for a few minutes.

Avoid Common Mistakes
While trying to help a stuck seed casing, it’s important to avoid common mistakes that can hurt your plant:
- Never pull with force – Forcing the seed casing off can rip the tender leaves, leading to stunted growth or even killing the seedling.
- Don’t handle with dirty hands or tools – Germs can cause infections, leading to mold or disease that may harm the plant.
- Be patient – Sometimes the best thing you can do is wait. Many seedlings will free themselves naturally given enough time.
What Happens if the Seed Casing Stays On Too Long?
If the casing remains stuck for too long, it can restrict the growth of the cotyledons. When the cotyledons can’t open, they can’t start photosynthesis properly, which means the plant will struggle to grow. A seedling that remains trapped for too long may weaken, turn yellow, or even die.
That’s why it’s important to monitor young seedlings closely. Catching a stuck seed casing early and using gentle methods to help it along can make all the difference in ensuring a healthy start for your plant.
To remove the seed coat or not? Final Thoughts
The seed coat and pellicle of a newly germinated cannabis seed are much more than superfluous leftovers. They contain essential nutrients that the young plant needs before photosynthesis begins. By leaving the seed coat and pellicle in place, you give the plant the best chance of developing strong and healthy.A stuck seed casing can seem like a problem, but it’s often a small and manageable one. With a little patience, moisture, and gentle handling, you can help your seedling grow strong and healthy. Remember, nature is resilient, and most plants will eventually sort themselves out. Only if it is really necessary should you intervene, but always do so with care and make sure you do not damage the plant. Patience and a good growing environment will help nature do its work and your plant will soon be free to grow to its full potential!
How cannabis seeds germinate video
The best cannabis seeds germination method
When to germinate cannabis seeds for outdoors?
A Good Light Schedule for Cannabis Seedlings
Lemon Cookies Growdiary by Indicat


")


You must be logged in to post a comment.